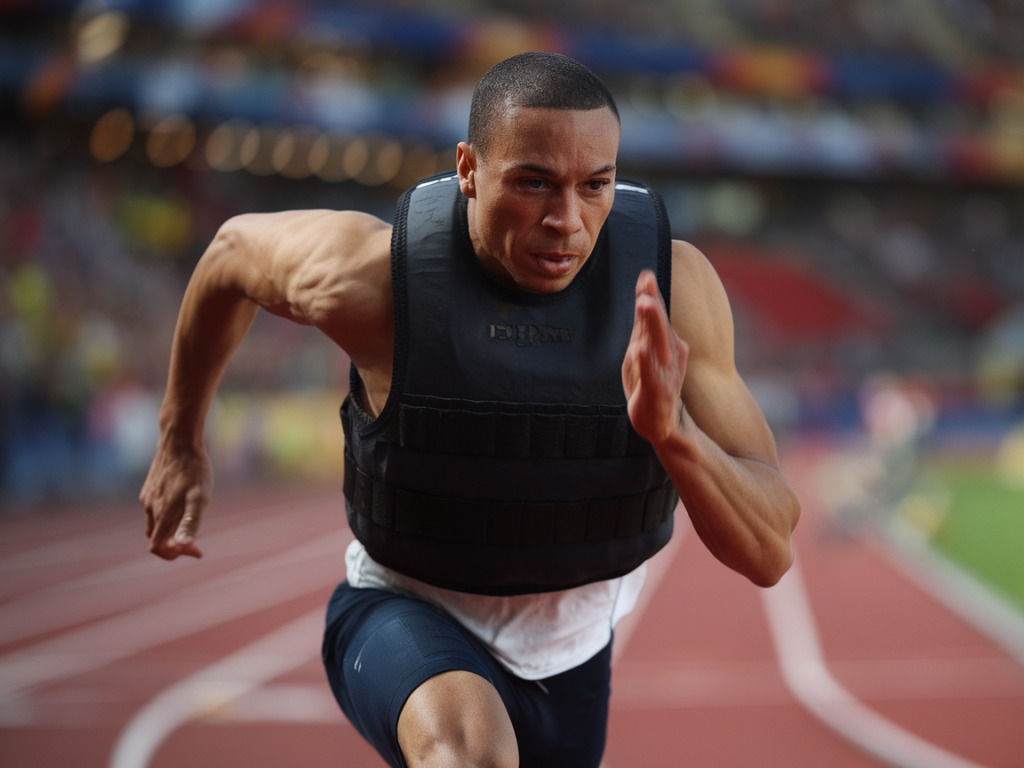
I've been experimenting with weighted vests for years—on hill sprints, tempo runs, and even during warm-ups—and I know the question many of you have: Can wearing a weighted vest improve sprint speed? The short answer is: yes, under the right conditions. But like any tool, a weighted vest can help or hurt depending on how you use it. In this article I'll share what the research and my experience tell me, common mistakes, and a practical, safe way to integrate weighted-vest work into your sprint training.
Why a weighted vest might help your sprint
Adding a small external load forces your body to produce more force to move at a given speed. When you train with slightly higher demands, your muscles, nervous system, and running mechanics can adapt so that when the weight is removed, you can produce relatively greater power at the same effort. In practical terms, this can translate to better acceleration and top-end speed—if done correctly.
Research and coaching experience typically point to benefits in:
When a weighted vest can backfire
A weighted vest is not magic. If the vest is too heavy or used too early in a season, it can:
From my experience and the literature, loads above 10–15% of bodyweight start to noticeably change technique for many athletes, and loads above 20% are generally not recommended for sprint work.
How to add a weighted vest safely to your sprint training
Here’s a step-by-step approach I use with myself and athletes. It emphasizes low loads, short distances, and clear progression.
Sample 8-week progression (for a trained athlete)
Use percentages of bodyweight and keep sessions once per week. Warm up thoroughly before every session.
| Week | Load (% BW) | Loaded Sprints | Unloaded Sprints |
|---|---|---|---|
| 1 | 3% | 6 x 10–15 m (full rest) | 3 x 20 m |
| 2 | 4% | 6 x 12–20 m | 4 x 20 m |
| 3 | 5% | 8 x 10–20 m | 4 x 30 m |
| 4 | 6% | 8 x 15–25 m | 4 x 30 m |
| 5 | 6–7% | 6–8 x 20–25 m | 4–5 x 30–40 m |
| 6 | 7–8% | 6–8 x 20–30 m | 4–6 x 40 m |
| 7 | 8–10% | 6 x 20–30 m | 5 x 40 m |
| 8 | Deload or test | Light session or retest unloaded 40 m | Unloaded speed test |
Note: adapt this depending on training age. Beginners should progress slower and limit to ~5% bodyweight for sprinting. Team sport athletes may prefer shorter distances and slightly lighter loads to maintain agility and change-of-direction ability.
Technique cues and what to watch for
When you load sprinting, be very attentive to technique. Use video to check for changes. Key cues I use:
Common questions I hear
How much weight should I use? For sprint-specific work I typically recommend 3–10% of bodyweight. Only very advanced and well-conditioned sprinters might experiment up to 15%, and even then, with caution.
Are weighted vests better than sleds? They serve different purposes. A sled provides horizontal resistance and is great for acceleration mechanics; a vest adds vertical load and maintains a more natural sprint posture. I often use both—sleds for start acceleration work, vests for power and neuromuscular overload.
Will a weighted vest increase injury risk? If you progress too fast or use too heavy a load, yes. The biggest risks are hamstring strain and lower-back fatigue. Keep loads light, watch form, and pair sessions with strengthening and mobility work.
Practical tips and safety checklist
Weighted vests can be a useful part of a speed-training toolbox when used thoughtfully. They’re not a substitute for quality sprinting, strength training, and recovery, but when programmed carefully they can nudge your sprint performance forward. If you want, I can create a personalized 6–8 week plan based on your current times, training age, and goals—just tell me your 10 m / 30 m / 40 m times and how many sessions you can commit to per week.