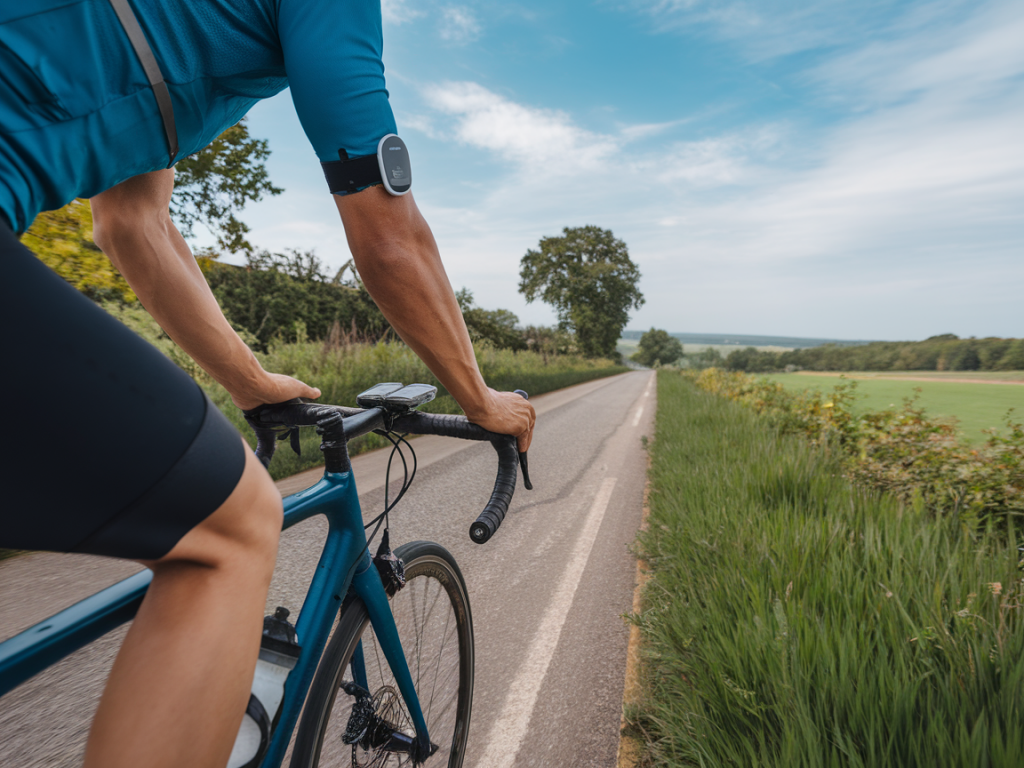
I’ve been using continuous glucose monitors (CGMs) in my own training for over a year now, and I can honestly say they’ve changed the way I think about fueling rides. For cyclists—especially endurance riders looking to squeeze out better performance and comfort—CGMs are a powerful tool to personalize nutrition, avoid bonks, and recover smarter. Below I’ll walk you through how I use CGM data, what to look for, practical fueling strategies, and important caveats so you can apply this technology safely and effectively.
Why a CGM for cycling?
Most cyclists have experienced that awful, fuzzy-headed “bonk” at the worst possible moment. Traditional fueling advice (grams of carbohydrate per hour) is a useful starting point, but it’s still generalized. A CGM gives you a continuous, objective view of how your blood glucose responds to different meals, timing, and on-bike nutrition. Over several rides you can learn:
- How quickly your glucose rises and drops after different pre-ride meals.
- Whether certain gels, bars, or drinks spike you too high or sustain you better.
- Your individual “danger zone” patterns—how steep a drop tends to precede performance loss.
- How stress, lack of sleep, or caffeine affect your on-bike glucose.
Which CGMs and apps I use
I use a FreeStyle Libre sensor for convenience and sometimes cross-check with a Dexcom G6 when I want finer real-time alerts. On the analytics side, apps like Levels and Supersapiens have cycling-focused integrations and make patterns easier to interpret. If you want instant alarms for steep drops during a race or long ride, Dexcom paired with a watch can be valuable.
Setting up your baseline: the first 2 weeks
Before you change anything drastically, spend 10–14 days collecting data. I call this the baseline phase. During this time:
- Record pre-ride meals with timing and portions.
- Log ride intensity (easy spin, threshold efforts, long endurance), duration, and perceived exertion.
- Note any on-bike nutrition (type, grams of carbs, timing) and symptoms.
Baseline data lets you see what “normal” looks like for you. For me, a 60–90 minute easy ride with no on-bike carbs showed a gradual decline but no alarming drops, whereas threshold sessions caused larger transient spikes followed by steeper falls.
Interpreting glucose curves—what I watch for
There are particular patterns that inform my fueling choices:
- Big pre-ride spike then crash: If my glucose shoots high after a sugary breakfast and then falls during the ride, I know the meal was too simple (e.g., white toast + jam). Next time I opt for a mix of carbs + protein/fat to blunt the spike.
- Gradual decline into low zone: A steady downward trend below my personal threshold (for me that’s around 3.9–4.3 mmol/L depending on symptoms) signals I need earlier on-bike carbs.
- Stable mid-range: If glucose stays between comfortable ranges throughout a long ride, current fueling is working—note the exact amounts and timing.
- Post-interval rebound: High-intensity intervals can spike glucose—even without carbs—because of stress hormones. This means I can sometimes delay carbs after very hard efforts without an immediate crash, but I still monitor the subsequent decline.
Practical fueling strategies I use
Once you’ve identified your patterns, apply these practical changes and test them one at a time:
- Adjust pre-ride meal composition: If carbs spike you then crash, add more protein and healthy fat (e.g., oats with nut butter and Greek yogurt) and start the ride 60–90 minutes later.
- Time your first on-bike carbs: My data showed that waiting until I felt low was too late on rides longer than 2 hours. I now take a small carb dose (20–30 g) around 45–60 minutes for long endurance days.
- Choose sustained-release carbs: Products with maltodextrin, isomaltulose, or mixed simple/complex carbs tend to produce gentler curves. Gels with dextrose spike faster; sports drinks with multiple carb sources often sustain glucose longer.
- Use real food as an option: Bananas or energy bars with fat/protein can provide steadier glucose for me compared with a pure sugar gel.
- Micro-dosing during long efforts: Taking 15–20 g every 20–30 minutes (rather than large bursts) smooths the curve and prevents big swings during rides over 3 hours.
Example fueling plans based on CGM patterns
| Pattern | Strategy |
|---|---|
| Pre-ride spike then in-ride drop | Switch pre-ride to low-GI + protein; start carbs 30–45 min into ride (20–30 g) |
| Steady decline over long ride | Begin micro-dosing earlier (15–20 g / 20–30 min) and include maltodextrin-based drink |
| Stable glucose throughout | Maintain current plan; note quantities for replication |
| High-intensity spikes | Avoid high-GI pre-ride meal; rely on intra-ride carbs post-effort if a drop follows |
Using CGM during races and group rides
During competition, you’ll want minimal distractions. I avoid experimenting on race day, but I use these tactics:
- Set alerts for rapid drops (if using Dexcom) and wear a display I can glance at on my handlebars or watch.
- Follow a pre-tested micro-dosing schedule and adjust only slightly based on how my glucose looks early in the race.
- If I see a steep fall and can’t access planned nutrition, I’ll use a quick gel (20–25 g) immediately—much better than waiting to “feel” the bonk.
Limitations, safety, and what CGMs don’t tell you
CGMs measure interstitial glucose, not blood glucose, so there’s a small lag—usually 5–10 minutes—especially during rapid changes. Always trust symptoms over numbers if there’s a mismatch. Also:
- CGMs are not medical devices for non-diabetics in some jurisdictions; check local regulations and product labeling.
- Individual responses vary: don’t copy someone else’s exact gram-per-hour plan without testing it on yourself.
- Hydration, temperature, and sensor placement can affect readings.
How I track progress and tweak over time
I continuously iterate. Every 4–6 weeks I review my CGM trends alongside training load and race results. If I’m consistently low during long rides despite fueling, I increase on-bike carbs incrementally and reassess. Conversely, if I’m retaining high glucose even with fueling, I may reduce total carbs or change types to avoid gastrointestinal distress or unwanted weight gain.
Final practical tips I swear by
- Test one change at a time so you can attribute effects.
- Keep a simple ride log (time, nutrition, perceived energy) alongside CGM data.
- Practice race fueling in training—every rider in your group ride won’t carry the exact product you need.
- Consider working with a sports dietitian if you’re unsure—CGM data is useful, but expert interpretation speeds optimization.