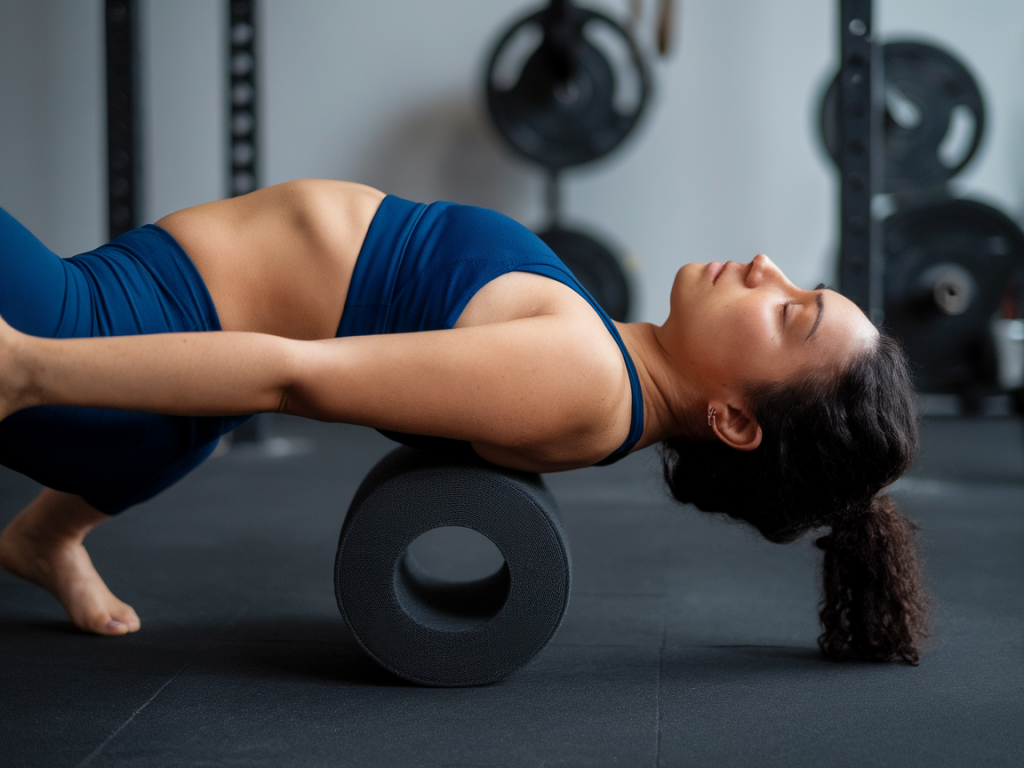
I started experimenting with nightly 30-minute yoga sequences on a foam roller because my hips felt like rusty hinges and my 5k times had plateaued. What began as curiosity quickly turned into a ritual that I look forward to every evening. Over months of consistent practice — and a few tweaks based on what my body told me — I noticed not only a release in chronic hip tightness but also subtle improvements in my running economy and race times. Here's what I've learned and how you can try it too.
Why combine yoga and a foam roller for tight hips?
Yoga gives me mobility through guided movement and breath, while the foam roller adds targeted myofascial release that I simply can’t get from stretching alone. The foam roller helps break up adhesions and increases blood flow to tight tissues like the glutes, IT band, and hip flexors. When I follow that release with yoga mobility work, I’m re-teaching my nervous system to accept a greater range of motion. The result: hips that feel more open and a stride that feels smoother and less restricted.
Common questions people ask (and my answers)
Can nightly 30-minute sessions really fix chronic tight hips? Not instantly. “Fix” is a loaded word. In my experience, consistency is key. Nightly sessions reduce pain, improve range of motion, and change movement patterns over weeks. It’s helped my chronic tightness a lot, but if you have structural issues, surgery history, or severe pain, consult a clinician first.
Will this shave seconds off my 5k time? Yes — but indirectly. The roller + yoga routine improved my hip extension and cadence, which reduced wasted energy and improved turnover. I shaved around 10–20 seconds off my 5k over a couple months, but gains depend on your baseline, training load, and race preparation.
Is 30 minutes too much or not enough? For most recreational runners, 20–30 focused minutes is ideal. It’s long enough to do effective rolling, mobility, and a few strengthening or neuromuscular drills. If you’re short on time, 15 minutes is still helpful; if you’re rehabbing something, follow a professional’s recommended duration.
What equipment I use (and why)
I prefer a medium-density foam roller like the TriggerPoint GRID for a balance between comfort and effectiveness. A softer roller feels nice but may not penetrate adhesions. I also keep a yoga block and a strap handy for mobility variations. My yoga mat is a Manduka PRO — it’s stable for small balance drills and cushioned enough for long holds.
My typical 30-minute nightly sequence
I divide the 30 minutes into three parts: 12 minutes of rolling/release, 12 minutes of mobility-focused yoga flows, and 6 minutes of breath + activation drills. Below is a practical breakdown you can follow.
| Time | Focus | Exercises | Notes |
| 0–12 min | Myofascial release | | Slow, controlled; stop on sharp pain |
| 12–24 min | Mobility + yoga | | Coordinate breath with movement |
| 24–30 min | Activation + breath | | Finish calm, ready for sleep |
How I adapted the sequence for running gains
To see running-specific improvements, I focused on hip extension and glute activation. Instead of spending the whole session on passive rolling, I added dynamic movements that mimic run mechanics — single-leg bridges, high-knee march with emphasis on back-leg extension, and short fast leg swings at the end of the sequence. This helped translate newfound mobility into usable power during my runs.
Progress timeline — what to expect
My changes were incremental:
Everyone’s timeline differs. If you’re improving mobility but not seeing performance gains, check training load, sleep, and nutrition — mobility is only one piece of the puzzle.
Common mistakes and how to avoid them
1) Over-rolling painful spots: Avoid trying to “massage away” sharp pain. Slow, tolerable pressure is better than aggressive digging.
2) Skipping activation: Rolling without follow-up activation teaches your muscles to stay passive. Always finish with targeted exercises.
3) Inconsistent practice: Once or twice a week can help, but nightly or at least 4–5 times per week created the biggest change for me.
Safety tips and when to see a professional
If you have persistent sharp pain, numbness, tingling down the leg, or a history of hip surgery, consult a physiotherapist before starting. I also recommend getting a baseline movement screen (e.g., single-leg squat, lunge, hip hinge) so you can track objective changes. If a particular rolling technique makes pain worse, stop it and try a gentler approach or a softer roller.
Brands and products I recommend
The TriggerPoint GRID is my go-to for durability and targeted pressure. For those who prefer a softer feel, the LuxFit foam roller is a good alternative. A resistance band (mini-loop) and a stable mat like Manduka PRO complete the kit. None of these are essential — you can start with any dense foam roller — but I find these products last and perform well.
If you try this approach, keep a simple log: what you rolled, mobility drills you did, and any change in pain or range of motion. After a month, compare your run metrics (pace, cadence, perceived effort) and adjust. Nightly foam roller yoga became my nightly reset — and it might become yours too.